Universal Design for Learning
Universal Design for Learning (UDL) is an educational framework designed to provide equitable learning opportunities for all people. Under the umbrella of inclusive pedagogy, UDL practices ensure that all learners can be successful in their educational pursuits when we remove barriers and add flexibility to the curriculum. Toward that end, UDL is guided by three principles: 1) Engagement - providing multiple means of engaging and motivating learners; 2) Representation - providing multiple means of presenting content and materials that is optimal for learners with varied abilities (e.g. sensory, learning, language, cultural backgrounds); and 3) Action and Expression - providing multiple means for learners to express what they know and what they can do (CAST, 2018). For examples of strategies on how to apply these universal design principles when designing and implementing your course, view the brief videos below:
| Engagement Strategies | Representation Strategies | Action and Expression Strategies |
Accessibility
Accessibility is closely intertwined with UDL. Whereas UDL represents a broad framework designed to create learning environments that provide variety, choice, and support to ensure all learners' educational success, accessibility is focused on specific standards and accommodations to ensure equitable learning experiences for individuals with disabilities. At Emory University, i nstructors, administrators, and the Department of Accessibility Services (DAS) share responsibility for ensuring access for learners with disabilities. A key aspect of inclusiveness in a course for instructors is making sure that all content is accessible to all learners. Achieving accessibility has become easier and faster in the last few years, with more tools that support instructors provided in both Canvas and in the software used to create materials (Word, PowerPoint, Excel, PDF). Below you will find more information on:
- reviewing accessibility in your Canvas course
- creating accessible pages in Canvas
- using type formats and sizes to make pages easier to read
- making visual images accessible in Canvas with alt text
- adding captions to Canvas Studio videos (both uploaded to or created in Studio)
- creating course documents that are accessible
- adjusting colors and contrast for visuals
- creating 508 Compliant documents for federal government documents
Tools that Support Accessibility in Canvas
There are two excellent tools to check accessibility in Canvas.
- Accessibility Check (UDOIT) will scan an entire Canvas course for issues and provides prompts and fixes.
- Log into your Canvas course
- Select " Accessibility Check" from the left-hand menu in your course: you may have to add this menu from the Canvas Settings > Navigation.
- UDOIT (the product name for Accessibility Check) opens and will scan your course for errors.
- Select the blue button that says Continue after the automatic scan finishes and takes you to a Dashboard.
- UDOIT provides list of Most Common Errors, Most Common File Issues, and Most Common Suggestions with links to lists.
- To the right of these in the UDOIT Dashboard there is an easy-to-use Ways to Get Started. Instructors can select from a list of choices:
- Choose an option and select Get Started.
- UDOIT will then provide a list of problems with information about the specific issue.
- Select Review on the right-hand side of each item in the list.
- A new window opens with an explanation about what to fix and provides a text entry box for the update.
- At the bottom of the window, users can proceed to the next issues by clicking the Next button.
- You are can stop anytime and return to the list later. UDOIT will keep track of the issues and update the list.
- UDOIT allows you to start with the easiest issues first and rapidly correct dozens of issues in just minutes.
2. Accessibility Checker: This tool scans the current Canvas page while in Edit mode for accessibility issues and provides prompts to allow fixes right in the window. Access this help at the bottom of the page by clicking on this icon ![]() . It catalogs the number of errors on that page. When you click the
. It catalogs the number of errors on that page. When you click the ![]() icon it will open another window on the right and indicate the issues, instructions for fixing them, and an Apply the change button, along with arrows for moving to the next issue or back to a previous one. It also allows you to fix errors and return at a later time to continue addressing the remaining problems.
icon it will open another window on the right and indicate the issues, instructions for fixing them, and an Apply the change button, along with arrows for moving to the next issue or back to a previous one. It also allows you to fix errors and return at a later time to continue addressing the remaining problems.
Video: Accessibility Checker: How to access and use it in Canvas
Common Accessibility Errors and Fixes
| Headings on Pages and in Tables | Use headings on a page to break up text into major topics and subtopics. This helps visually chunk content for both screen readers and sighted readers which makes it easier to read and comprehend. |
Page titles(h1)Section title (h2)Sub-section (h3)Body text (p) |
| Alt text for Images |
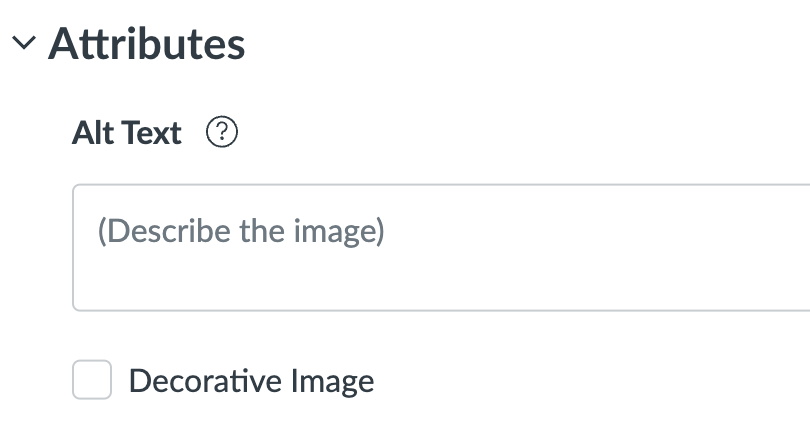
Add descriptive text to the '' alt text" box that accompanies images in Canvas. This allows an individual who is unable to see an image to understand the content of the image when a screen reader scans the image. Good "alt text" combines a short description of the content of the image within the context of the surrounding page. Do not use a file name for "alt text". Here is more information on writing Alt text and more information on adding alt text in Canvas. |
 |
| Tables |
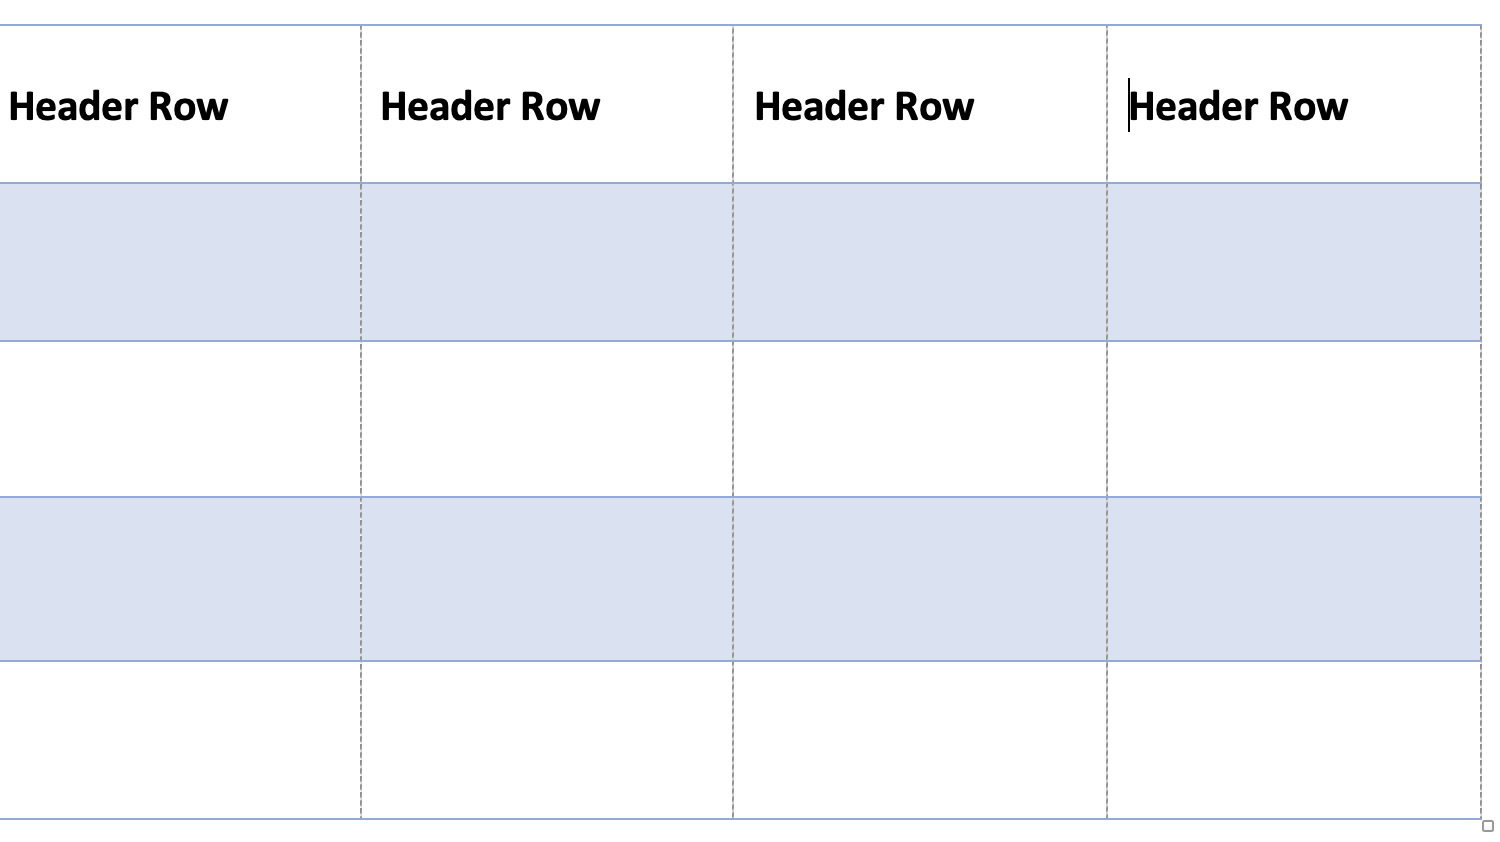
Headings should always be indicated in columns of a table in Canvas or in a Microsoft document. One of the most common sources of accessibility errors is not indicating a heading and this issue is routinely flagged by accessibility checkers. For more information on checking your documents, see the File Formats category below where you can find links to documentation. You can review this guide from WebAIM which provides information on how a screen reader 'sees' information in a table. |
 |
Using Captions
| Captions | Studio in Canvas Captions | To caption a video in Studio in Canvas:
|
| Panopto Captions | To caption a video in Panopto:
|
|
| YouTube Captions |
Create subtitles and captions in YouTube:
|
|
| Rev.com Captions | Rev creates captions for you, with a 24-hour turnaround, providing files that you can edit, and then upload to a video. The SRT file they provide can be added directly to Panopto or to Studio in Canvas. Using Rev.com will require a budget. | |
| Google Slides Live Captions |
Google Slides allows you to play your slides with live captions/titles as you present. Once you activate Slideshow, hover on the bottom left of your slides, where you will have access to a menu that lets you select Caption Preferences > Toggle Captions. You can upload PowerPoint slides into Google Drive and play them with Slideshow and captions without converting them to Google Slides. |
|
|
|
PowerPoint has live captioning in specific versions of Office. Office 2019, installed on most Emory computers doesn't have a live caption option. The Office 365 version does allow live captions but is limited by a license that will not work for multiple users. A good option for PowerPoint that avoids version issues is to upload your slides to One Drive, open them in the Chrome or Firefox browser window, and then select Slide Show > Always Use Subtitles. There is a dropdown menu that allows language selections. |
|
|
Zoom now has a Show Captions button Click the button and then using the menu, enable live transcription. Please note: Zoom webinars may not display this option. |
Accessibility for Links, Color, and Documents
| Links | When adding links, use meaningful text for the link and use the linking tool -- do not use a URL for the link. The screen reader will read it aloud and links can be long and contain strings of meaningless characters. |
|
| Color | When using certain color combinations (e.g. red/green) or contrast levels they may not always be visible or easy to read for individuals with various vision abilities. This website allows you to upload an image and experience it from multiple perspectives of visual impairment. When using color, you can use a contrast checker to verify that your foreground and background color have enough contrast to be read |  |
| Microsoft File Formats |
Accessibility in documents means providing a document that can be scanned by a screen reader. This can take more time than using the Accessibility programs in Canvas -- check-in with the Department of Accessibility Services (DAS) for support or use the tools provided by Microsoft in their software.
|
In Microsoft Excel, Word, and PowerPoint files:
|
| Adobe PDF |
Adobe PDF files can be more complicated to make accessible without the professional version of the Adobe Acrobat software. Here is a guide provided by Adobe. You can check accessibility without a Pro license and make some things accessible in Acrobat but it can be more limited. One of the most essential functions Adobe Acrobat DC Pro provides is scanning documents by converting them to a document that allows OCR (optical character recognition). This can be important for anything scanned from a book. Ask for assistance if you need to scan a document: sdetrie@emory.edu |
508 Compliance for Documents
Federal agencies are required to make their electronic and information technology accessible to people with disabilities. These links provide quick video training for submitting documents to federal agencies.
Reference List
Center for Applied Special Technology (CAST) (2018). Universal Design for Learning Guidelines version 2.2. Retrieved from http://udlguidelines.cast.org
Gernsbacher, M.A. (2015). Video Captions Benefit Everyone. Policy Insights Behav Brain Sci., 2(1):195-202.
Canvas Guidelines to Accessibility provides more information on things that will aid accessibility in Canvas.
UDL Guidelines provide detailed information on Universal design principles.
Accessibility tutorial from the Emory Canvas Team
Microsft Office has a list of questions to ask when reviewing your course documents.


